
.NET Interactive, NuGet Servers and Polyglot Notebooks. What is this Dark Magic?!

I write a bunch of Enterprise Libraries (fancy name for common code), and I have markdown guides on how to install and use it (via NuGet packages).
But somehow, I always end up opening Visual Studio or VS Code and do a real time demo on how things work.
But wait a minute, live documentation and I can show you the code in Realtime?
Yes, you can with .NET Interactive and Polyglot notebooks.
A polyglot notebook with .NET Interactive is a type of interactive notebook that allows you to write and execute code in multiple programming languages within the same notebook. .NET Interactive is an extension of the .NET platform that supports interactive programming and data exploration.
If you have used Jupyter notebooks, then you are ready to go.
If not, a Jupyter Notebook is an open-source web application that allows you to create and share documents that contain live code, equations, visualizations, and narrative text. It is widely used in data science, machine learning, and scientific computing for interactive data analysis and visualization.
I will show you how can you document and show the live code; documentation will not be boring anymore.
NuGet Registry
First step, a NuGet repository. Â You can host your own NuGet server following this guide.

Or
If you use GitHub, you can use the NuGet registry.
Today we will be using the latter option, but the same applies if you host your own server.

The most important part is to obtain a personal access token
Once you have that, you can start publishing your NuGet packages via CLI
dotnet nuget add source --username USERNAME --password ${{ secrets.GITHUB_TOKEN }} --store-password-in-clear-text --name github "https://nuget.pkg.github.com/NAMESPACE/index.json"- USERNAME is the username you usually enter when using GITHUB
- GITHUB_TOKEN is the personal access token
- NAMESPACE is the organization or your personal GitHub namespace
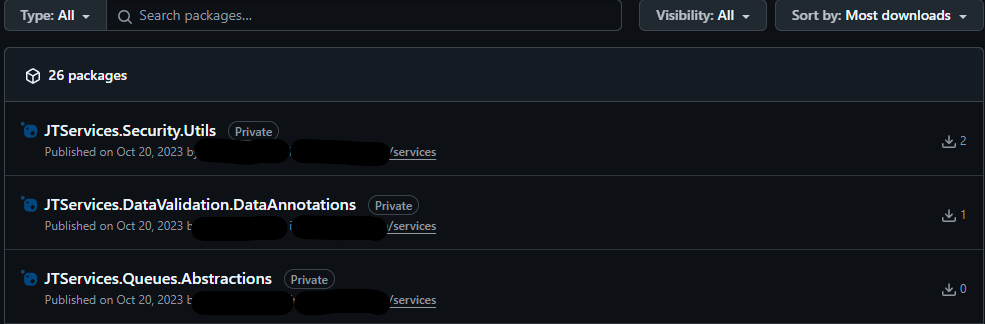
I already have some packages published into the private registry.
Now the fun part.
.NET Interactive Polyglot
We will be using VS code

Once installed, you can add the extension polyglot notebooks

So, what is .NET Interactive?
 dotnet
".NET Interactive is an engine and API for running and editing code interactively, including:
- Running code and getting its results.
- Evaluating code to provide language services such as completions and diagnostics.
- Sharing data and variables between multiple languages and across remote machines.
While typically associated with notebook technologies such as Jupyter and the Polyglot Notebooks extension for Visual Studio Code, .NET Interactive has other uses as well, such as building REPLs and embedded script engines."
I have been using it regularly now for the libraries I have, and it is amazing, it cuts the time I need to explain how the code works as people will simply clone the repo see the notebook and experiment with it, life saver!!!
This is a sample notebook
Step 1
Create a new notebook

In VSCODE you will be using the searchv2 textbox a lot!! Start typing >polyglot and the IntelliSense will provide you with suggestions. Select create a new blank notebook.
Next choose the extension
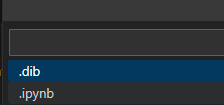
Select .ipynb, since it is a python extension for notebooks, it will render nicely in GitHub as markdown.
Step 2
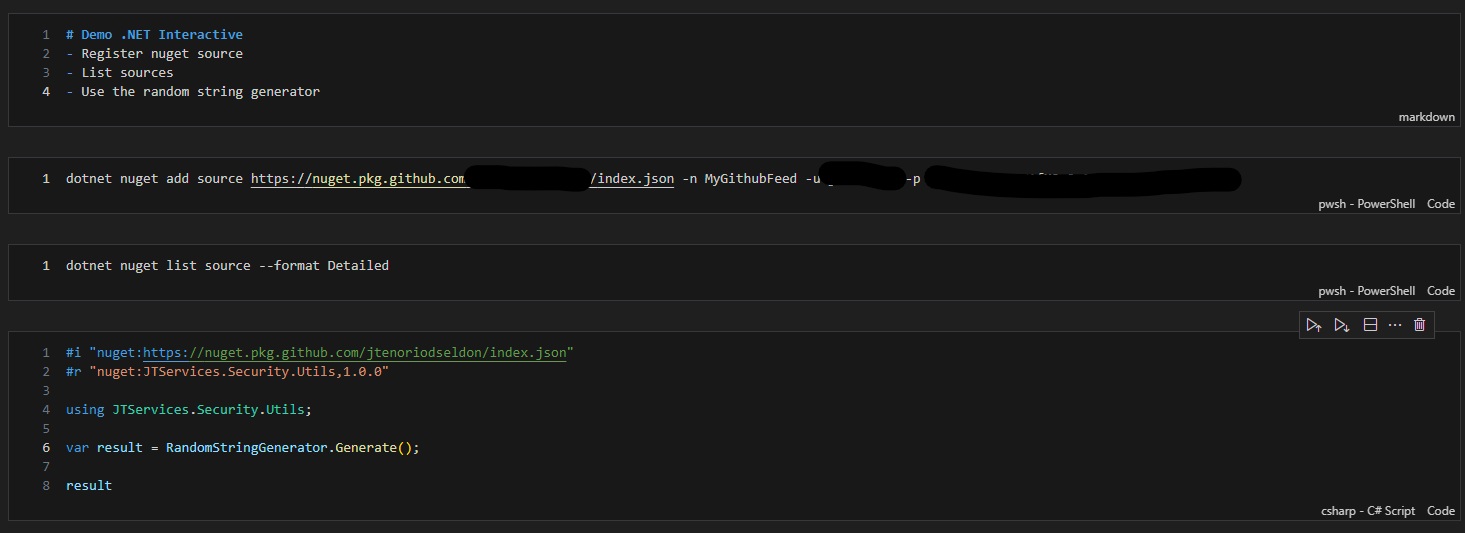
Register the NuGet source, we will be using a PowerShell code in the notebook
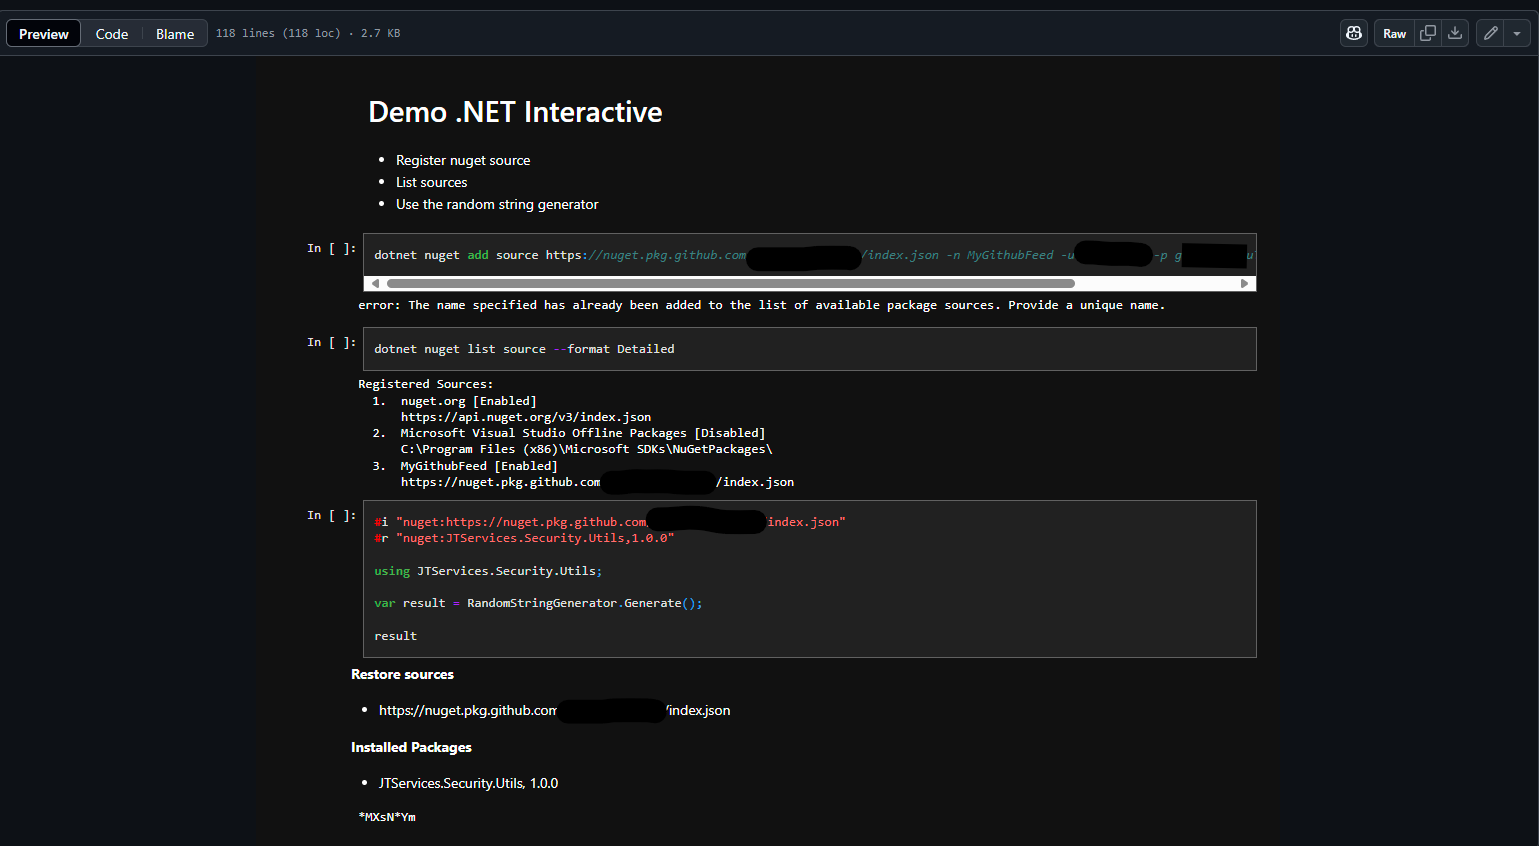
dotnet nuget add source https://nuget.pkg.github.com/NAMESPACE/index.json -n MyGithubFeed -u USERNAME -p PERSONALTOKENWith this we are registering the source of packages, if it is already registered it is fine, it will ignore it and continue
We want to confirm the source is registered and we will execute the script in a new PowerShell code cell
dotnet nuget list source --format DetailedWe will import a NuGet and use the shared code. This will be a C# code cell
#i "nuget:https://nuget.pkg.github.com/NAMESPACE/index.json"
#r "nuget:JTServices.Security.Utils,1.0.0"

using JTServices.Security.Utils;

var result = RandomStringGenerator.Generate();

result
And just for fun I will add a markdown code to describe what is happening.
Your notebook should look something like this.
Now let's run all option.
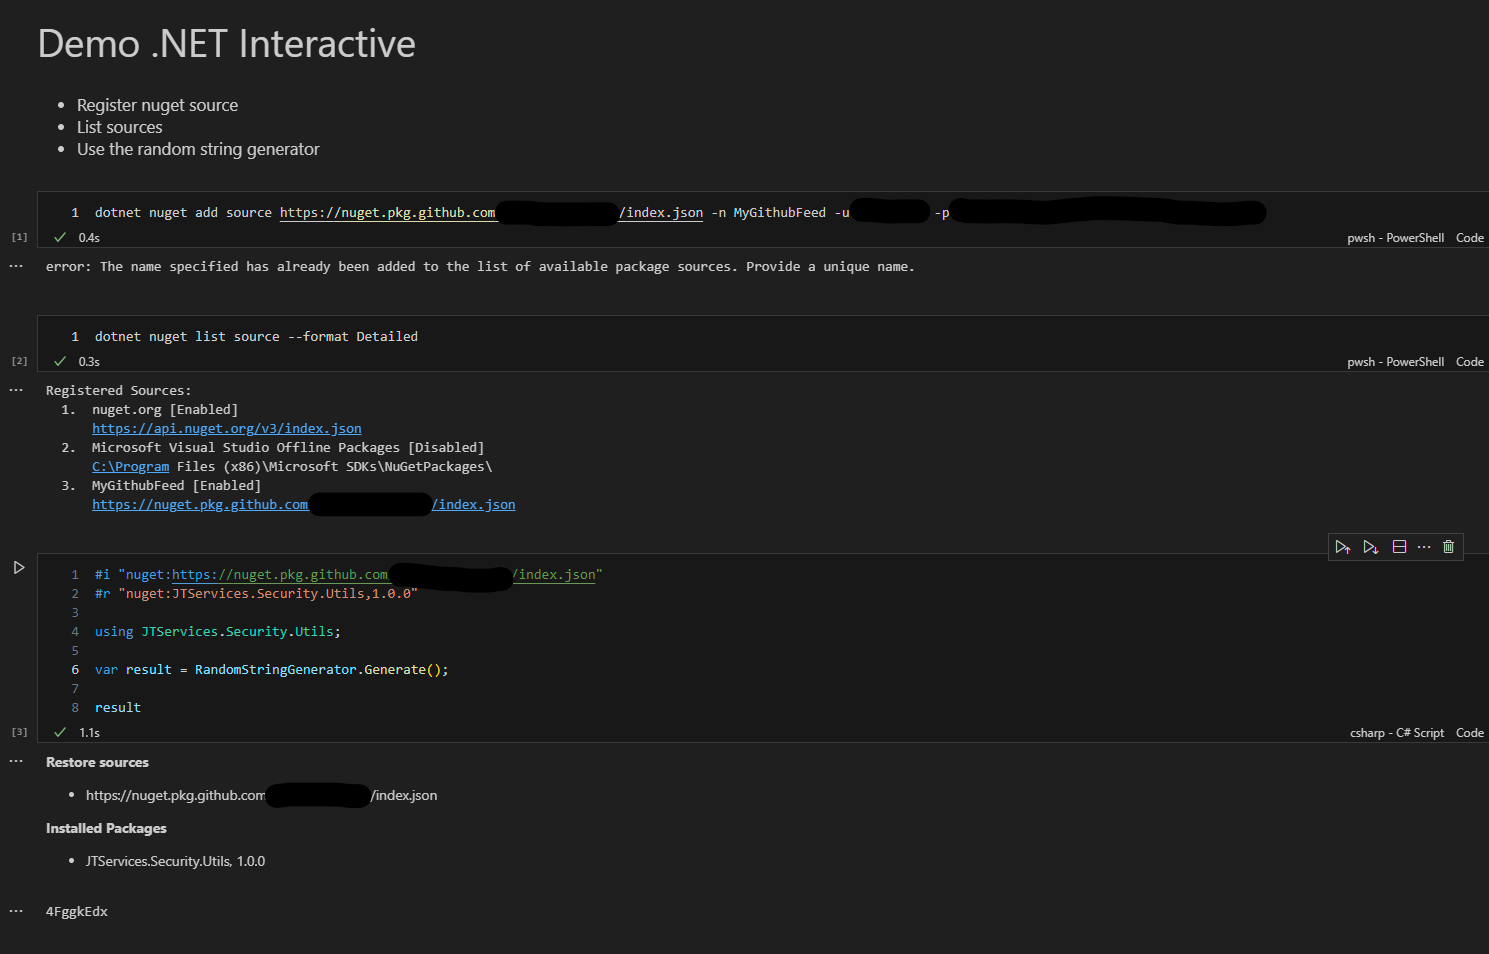
I think it is self-explanatory, except the last line, the result and it is showing the actual result of the random string.
Polyglot has built in visualizers and you can actually extend it. The default visualizer does a pretty amazing work out of the box.
But how does it look in GitHub?
Obviously, I am not showing the namespace or the password, this is just for demo purposes, and you should never push passwords or other sensitive data, however you get the overall idea on what to accomplish.
I encourage you to give it a try and you will see how it can change the way we view at documentation.
Happy coding!!!